Year 11 Mock Exam 2014
You will have approximately 6 weeks to prepare for your Year 11 mock exam in December. This will be useful preparation for the real Unit 2: The Externally Set Task, which will begin straight after the Xmas holiday (1st January) and culminate in a timed test after Easter. The controlled assessment part of the mock exam will be 10 hours long (2 days), just like the real thing.
The themes for the Year 11 mock (2014) are:
Food and Drink
Home
Reflections
The Natural World
Close-up
Texture
You should choose ONE of these themes and stick to it for the length of the preparatory period. Create a new page on your site with the title of your chosen theme. Remember, the Assessment Objectives are:
AO1: Research, critical understanding and ideas
AO2: Experimenting, refining and developing
AO3: Documenting imaginatively and reflecting
AO4: Creating personal and meaningful outcomes and evaluating them
Make sure that your page contains plenty of evidence for ALL the assessment objectives. Continually reflect on how you can improve the quality and range of this evidence as you develop your response.
http://mrngcsephotography.weebly.com/year-11-mock.html
the natural world
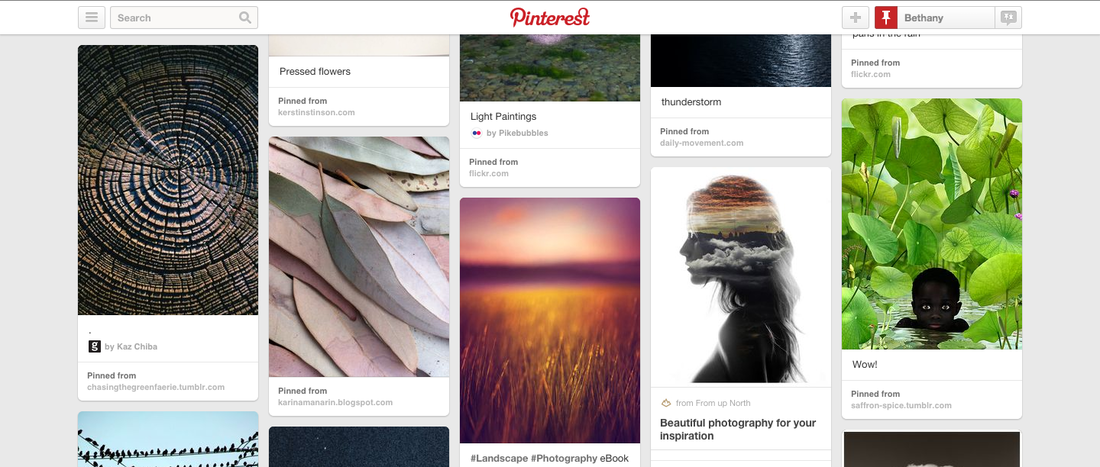
This is a link to my Pinterest account. Pinterest is a website where i will be showing my ideas and inspirations for The Natural World. I chose those photographs, because i really liked the way the photographers based their photos around The Natural World. I would like to try out some of these ideas and hopefully create some final pieces from them.
my first set of images
My second set of images


I decided to try out creating a set of images my making photograms. In the images I used parts of plants and put arranged them into different shapes. I thought using photograms was a good way to show the natural world, because its a more interesting process rather than taking a photograph in black and white.
rené magritte

René Magritte (1898-1967) was a belgian artist, Magritte was one of the most humorous surrealist artists. He was well known for a number of witty and thought-provoking images that fall under the umbrella of surrealism. Magritte's work displays a collection of ordinary objects in a different and unusual context, which gives new meanings to familiar things. Here are some of his paintings that have given me inspiration.
|
|


my third set of images


I tried to re-create some images based around Rene Magrittes paintings. I especially liked his idea about using a painting inside a painting to show the landscape within the painting. I started off by taking a picture of part of a tree, then when i printed it out i took some pictures when someone was holing the picture up in the place of that specific part of the tree so it just looks like i'm taking a normal picture. But I found it quite hard trying to get the right positioning of the picture when someone kept moving it. I then decided it would be better to try and mount the picture on a stand, by doing this it made the picture easier to take. Overall I really like this style of photographs. I like it because it makes the audience have to think about the picture when they first see it, this is because the picture is in line with the landscape, so they might not be able to tell when they first see it.


sarita walsh


Sarita Walsh is a graphic designer and a artisan. I really like the way she uses the same photos but in different sized layers to create one image. Another thing I like about it is that the layers are rotating or the layers have different shades to them. I think i might try to make my own photographs based around the style Sarita uses.
djuno tomsni
Djuno Tomsni is a French collage artist who works with cut-out photographs and patterns, to create a whole new photographs. He has a very unusual style which I find really interesting and it makes me want to see more of his photographs.
my try at sarita Walsh's photographs
Here is my step by step process of how I created my Final pieces, using Photoshop.
|
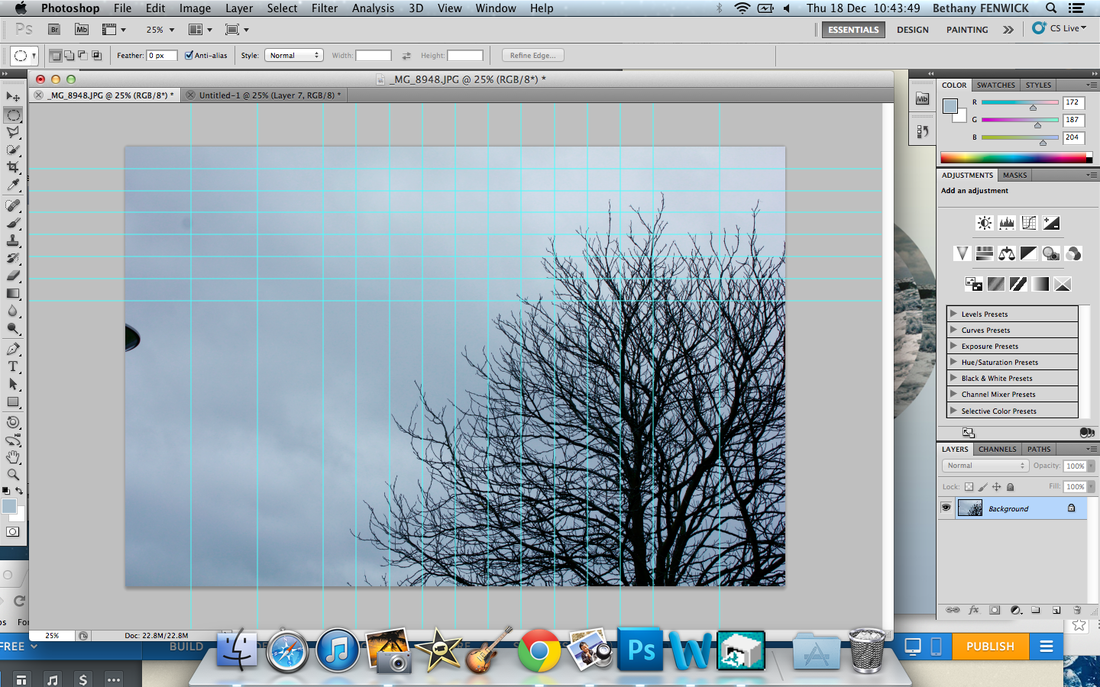
I started off by taking a picture of something that relates to The Natural World (a tree). I then put it into Photoshop and draw horizontal and vertical lines on the photograph as a grid. I drew the lines every 5% both ways. By doing this it makes it easier to crop the picture, remembering the point at where I started to crop the photograph. |
|
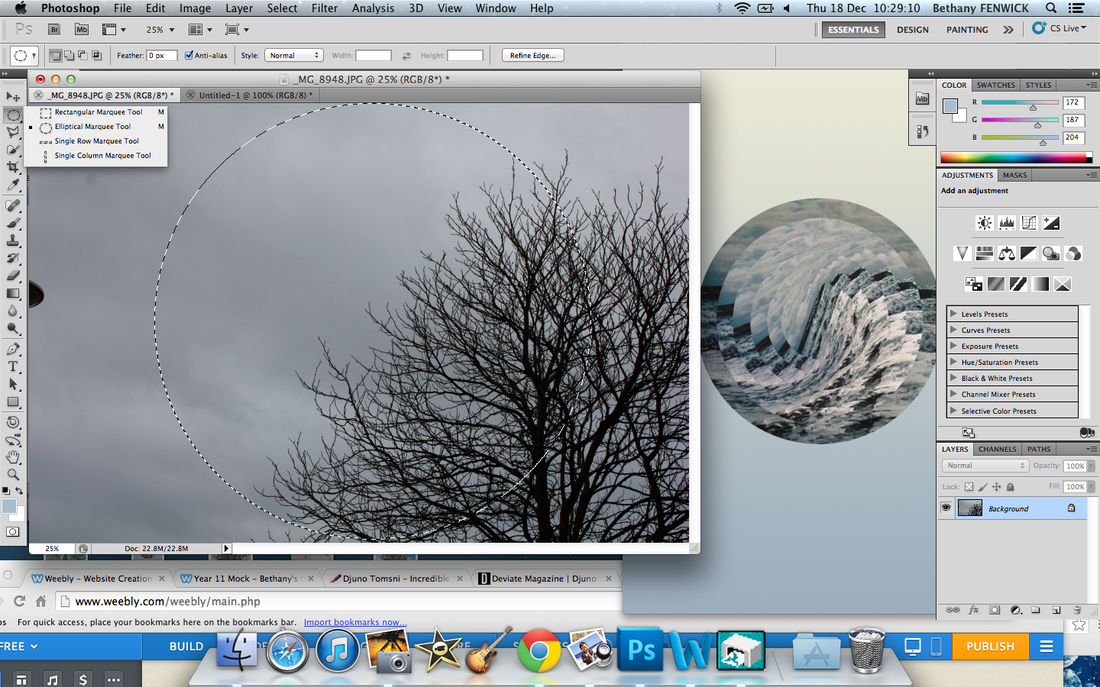
Afterwards I cropped the photograph in a circle including half of the tree and half of the sky. To create a circle hold down on the rectangular marquee tool and and list will come up, then move the mouse to Elliptical Marquee Tool. I then picked a suitable point on the grid for me to start my cropping at, then I dragged out the circle as far as I could, without it going over the edge of he picture. Next I clicked command C to copy the part of the picture within the circle. Afterwards i clicked command N to get onto a new page that would fit my circle on it, then by clicking command V it pasted the circle onto the new slide. I then repeated this 4 more times, but I made the picture smaller every time.
|
|
|
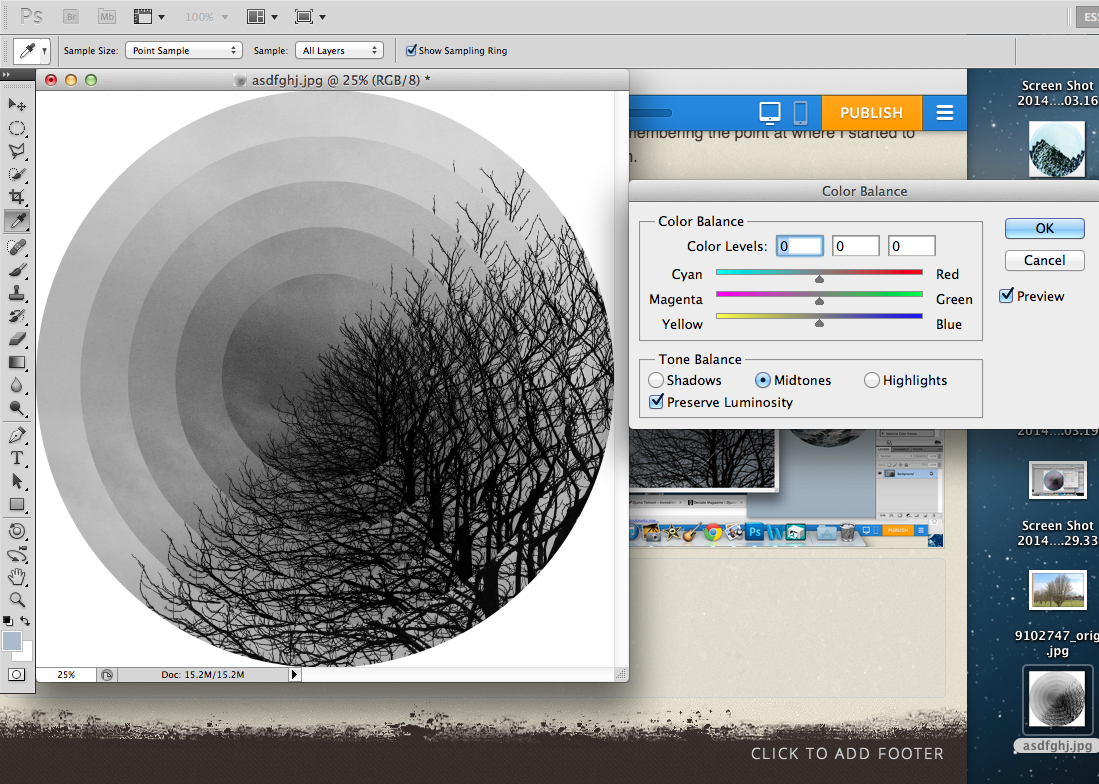
Eventually the picture ended up looking like this, but i changes the brightness on each different layer to make it look like the colours go from light to dark. I did this by clicking the image button at the top of my screen then i went down to Adjustments and hovered over it, then I clicked on Black & White. Then to be able to change the brightness or contrast i clicked Auto. I really liked it when Sarita Walsh did it so i decided to try it out for my own and I was really pleased with the outcome. |

My very first attempt didn't go so well. I took a picture of some trees, I then decided to crop the top corner of the picture which I then could turn into a style of Sarita Walsh. However when I cropped the picture I realised that, the cropped part of the photograph was too small, so if it was printed out it would come out really small. From this I learnt that I had to take a more zoomed in picture, so when I cropped it to size it wouldn't come out pixelated, or really small. But I'm glad I made this mistake on my first try, so I wouldn't make the mistake further along with different attempts.
|

|
My final pieces


|
This was the first successful photograph based around a photo by Sarita Walsh. I really like this photograph because it wasn't really difficult to create but I think its really interesting and beautiful. One specific think I like about this, is that the photo I repeated wasn't interesting when I first took it. But because it has been repeated 4 times, whilst rotating and the colours slightly changing in each layer. This picture also relates to the natural world, as there are leaves growing on a fence. The first thing that catches my eyes is the distinct green colour coming from the section of leaves in the photograph. It catches my attention because most of the majority of the leaves are a really dark colour, this makes it more difficult to recognise they are leaves apart from the shapes of them. But then the line of bright green leaves show distinctly the natural world included in the photograph.
|
This is my second successful final piece. in this photograph the natural world is more clearly shown by the repetition of the tree. I decided this picture would look better with more repetition oh the original photograph. I thought think because once I started repeating the photograph a few times, it was harder to realise that the picture was being repeated, because I wasn't rotating it, and the tree had a lot of branches. From this I just decided to keep going until I thought the picture was getting too small. Then I then used Sarita Walsh's idea of making the colour of the picture get darker with ever different layer. I thought it would look nicer is each layer was in black and white, rather than in colour. I decided this because I thought it would be easier to tell the shades were changing in the layers, and I thought it looked nicer as well. Overall I was extremely happy with the outcome of the photograph.
|
